FloorSandOlogy -- 0191 64 64 600
Floor Sanding Techniques | The Ultimate Guid
Discover expert floor sanding techniques to rejuvenate your hardwood floors. Our comprehensive guide ensures a polished, professional finish.
7/26/202414 min read
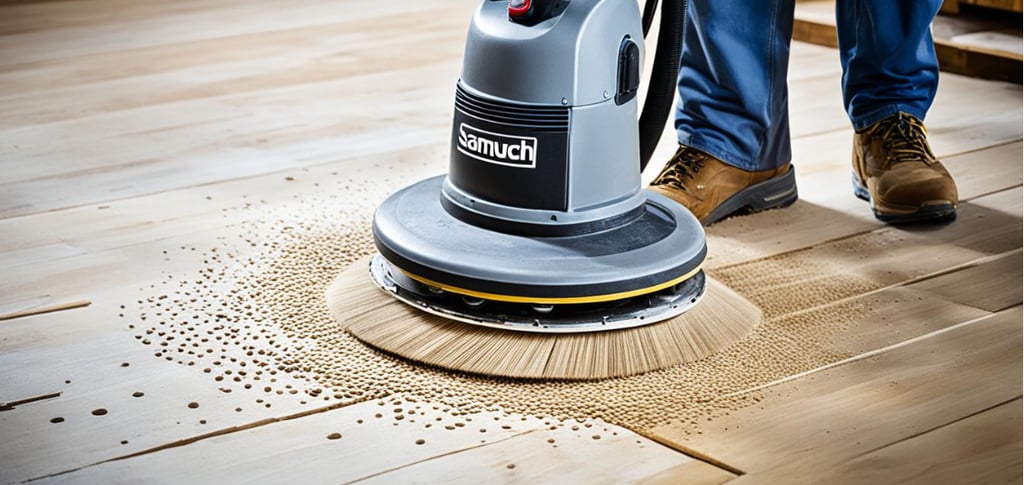

Welcome to our guide on floor sanding techniques. Whether you're a homeowner or a professional, understanding the proper techniques for sanding wooden floors is essential for achieving a polished, professional finish. In this comprehensive guide, we will explore the importance of floor sanding for wood floor restoration and hardwood floor refinishing, the equipment needed for the process, selecting the right sandpaper grit, the difference between professional floor sanding and DIY approaches, sanding and varnishing floors for durability, techniques for different wood types, understanding the floor sanding process, maintaining sanded floors, and health and safety tips during floor restoration.
Key Takeaways:
Floor sanding techniques play a crucial role in restoring and maintaining the beauty of wooden floors.
Proper equipment, such as a floor sander and sandpaper, is essential for achieving professional results.
Choosing the right sandpaper grit is crucial for removing imperfections and achieving a smooth finish.
Professionals offer expertise and specialised equipment, while DIY allows for cost-effectiveness and control over the process.
Sanding and varnishing floors adds durability and protects the wood.
The Importance of Sanding Wood Floors
Sanding wood floors is a crucial step in renewing and enhancing the beauty of the wood. Over time, wooden floors can become worn, scratched, and discoloured. Sanding removes the top layer of the wood, revealing a fresh, unblemished surface. This process not only restores the floor to its original beauty but also helps to protect your flooring investment. By sanding wood floors, you can remove imperfections, smooth out the surface, and prepare it for finishing or staining.
https://www.youtube.com/watch?v=sMPgJnfcC8I
Renewing and Enhancing the Beauty of Wood
Sanding wood floors has the power to renew and enhance the natural beauty of the wood. The process removes any surface imperfections, such as scratches, dents, and stains, that can detract from the overall appearance of your floors. By sanding away these flaws, you can bring out the natural grain and color of the wood, revealing its true beauty. Sanding also creates a smooth and even surface, providing the perfect foundation for a fresh finish or stain.
Protecting Your Flooring Investment
Investing in wooden floors is a significant decision, both aesthetically and financially. By sanding your wood floors regularly, you are actively protecting your flooring investment. Sanding helps to prevent further deterioration and damage to the wood, ensuring its longevity. By maintaining the quality and appearance of your floors through regular sanding, you can maximise their lifespan and enhance the value of your property.
Floor Sanding Equipment Essentials
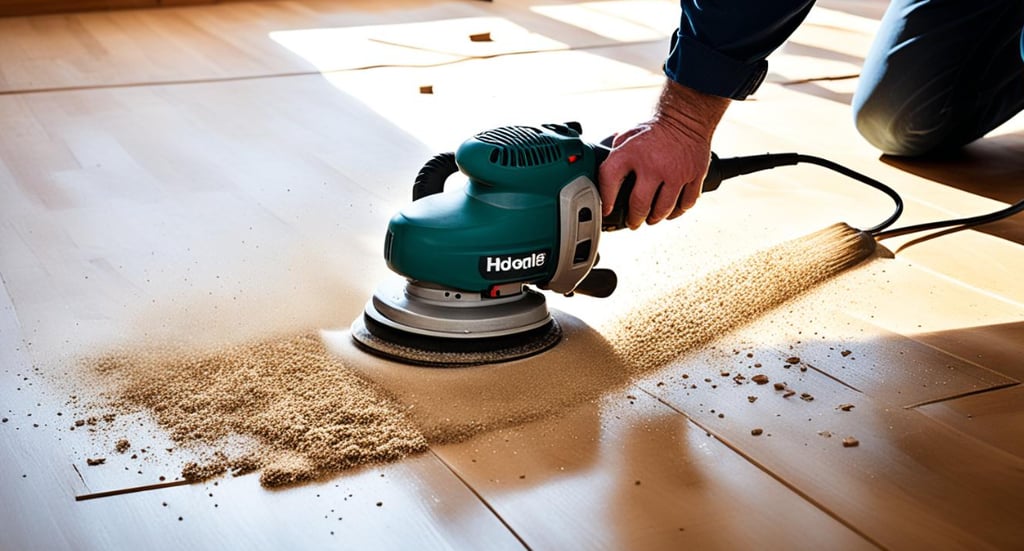
To achieve professional results when sanding your floors, it's important to have the right equipment. The essentials include a floor sander, which can be a drum sander, orbital sander, or belt sander depending on the size and condition of your floors. Other equipment includes sandpaper, a dust collection system for dustless sanding, and safety gear such as dust masks and safety glasses. Having the appropriate equipment ensures efficiency, safety, and a high-quality finish.


When it comes to floor sanding, using the right equipment is essential. A floor sander, such as a drum sander, orbital sander, or belt sander, is the main tool you'll need for the job. The choice of sander depends on factors such as the size and condition of your floors. A drum sander is ideal for larger projects and heavily damaged floors, while an orbital sander is better suited for smaller areas or lighter sanding tasks. A belt sander, on the other hand, offers versatility and can be used on both flat surfaces and edges.
In addition to the sander, it's important to have the appropriate sandpaper for the job. Different sandpaper grits are used to achieve different levels of smoothness. Coarser grits, such as 24 to 40, are used to remove old finishes and heavy scratches, while finer grits, such as 100 to 120, are used for the final sanding to achieve a smooth finish.
Another important aspect of floor sanding equipment is a dust collection system. Dustless floor sanding is not only more convenient but also safer for your health. A good dust collection system helps to minimise the amount of dust produced during the sanding process, keeping the work area cleaner and reducing the risk of respiratory issues. Make sure to use a dust mask and safety glasses to protect yourself from inhaling dust particles.
By investing in the right floor sanding equipment and taking the necessary safety precautions, you can ensure that your floor sanding project goes smoothly and results in a beautiful, professional finish.
Selecting the Right Sandpaper Grit
When it comes to floor sanding, selecting the right sandpaper grit is a crucial step in achieving a polished, professional finish. The grit of sandpaper refers to the size of the abrasive particles on its surface, determining the level of abrasion it provides. Using the appropriate grit ensures that you remove imperfections and achieve the desired smoothness on your wooden floors. In this section, we will explore the importance of starting with coarser grits and transitioning to finer grits, giving you floor sanding tips to guide you through the process.
Starting the Process with Coarser Grits
When beginning a floor sanding project, it's essential to start with coarser grits such as 24 to 40. Coarser grits are ideal for removing old finishes, heavy scratches, and any unevenness on the surface of the wood. These grits are more abrasive and help level the floor, creating a smooth foundation for further sanding. Starting with coarse grits allows you to remove the toughest imperfections effectively, preparing the floor for a finer finish.
Transitioning to Finer Grits for a Smooth Finish
After using coarser grits, it's time to transition to finer grits for the final sanding. Finer grits such as 100 to 120 are used to refine the surface, creating a smooth and polished finish. These grits help to remove any remaining imperfections left by the coarser grits and produce a surface ready for refinishing or staining. It's important to gradually move from coarser to finer grits to ensure a seamless transition and achieve the desired level of smoothness on your wooden floors.
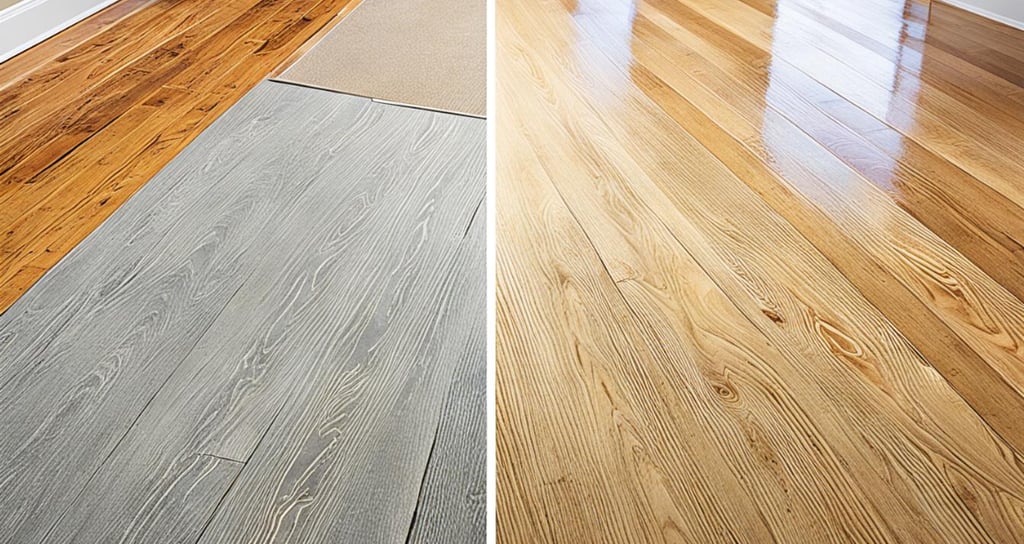

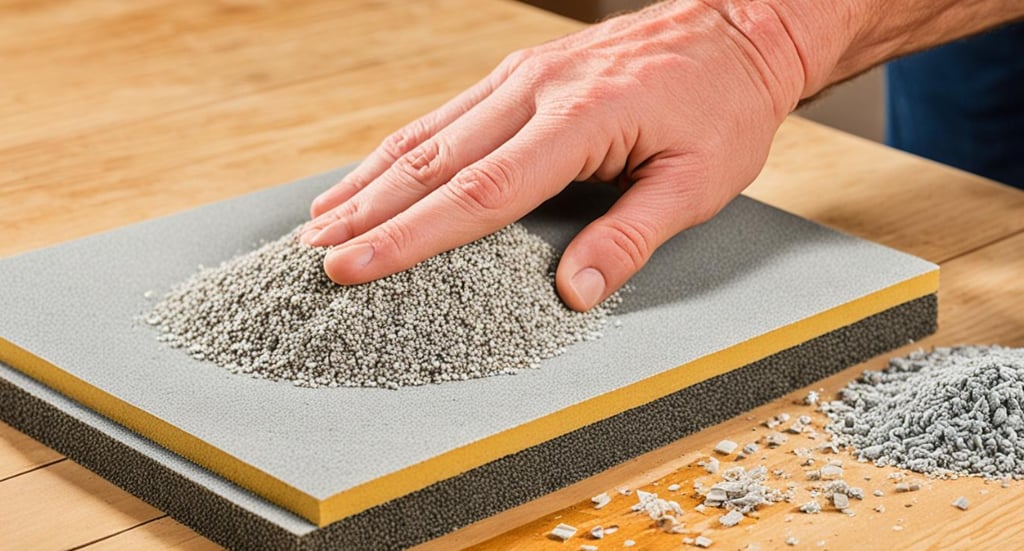

By selecting the right sandpaper grit and following the proper floor sanding techniques, you can achieve a polished, professional finish for your wooden floors. Starting with coarser grits and transitioning to finer grits ensures that you remove imperfections and achieve the desired smoothness. Remember to always follow the manufacturer's guidelines for your sandpaper and equipment to achieve optimal results.
Grit 24-40, Coarse, Removing old finishes, heavy scratches
Grit 60-80, Medium, Smoothing rough surfaces, leveling
Grit 100-12, Fine, Final sanding, preparing for refinishing
Professional Floor Sanding vs DIY Approach
When it comes to floor sanding, you have the option to hire professionals or take a DIY approach. Professional floor sanding services offer expertise, experience, and specialised equipment, ensuring high-quality results. However, DIY floor sanding can be cost-effective and allow you to take control of the process. It's important to weigh the pros and cons, consider your skill level and budget, and determine which approach is best for your specific needs.
Professional floor sanding involves hiring expert craftsmen who have extensive knowledge in floor restoration. They have the right tools, equipment, and techniques to handle any floor sanding project. With their expertise, they can ensure a smooth, even sanding process and a professional finish. Whether it's a simple residential floor or a complex commercial space, professional floor sanding services can deliver outstanding results.
On the other hand, taking a DIY approach to floor sanding can be a rewarding experience. It allows you to save on labor costs and gives you the satisfaction of completing the project yourself. However, it's crucial to bear in mind that floor sanding requires skill and precision. Without proper knowledge and experience, it's easy to make mistakes that can damage your floors.
Before deciding between professional floor sanding and DIY, consider the following factors:
Your skill level: Do you have experience with DIY projects and working with machinery?
The size and condition of your floors: Large or damaged floors may require professional attention.
Your budget: Compare the cost of professional services versus the investment in equipment and materials for DIY.
Ultimately, the decision between professional floor sanding and DIY depends on your individual circumstances. If you're confident in your abilities and have the necessary equipment, taking the DIY approach can be a fulfilling experience. However, if you're unsure or have a complex project, it's wise to consult professional floor sanding services for the best results.
Remember, when it comes to your floors, it's crucial to prioritise quality and long-term durability. Whether you choose to hire professionals or tackle the project yourself, ensure that you're equipped with the right knowledge and resources to achieve the best possible outcome.
Sanding and Varnishing Floors for Durability
Sanding and varnishing floors is an effective way to enhance the durability and longevity of your wood floors. Not only does this process protect the wood from wear and tear, but it also adds a beautiful finish that enhances the overall aesthetic appeal of your space. In this section, we will explore the importance of choosing the right varnish for your floors and provide tips for a successful varnish application.
Choosing the Appropriate Varnish
When it comes to selecting the varnish for your floors, there are several factors to consider. First and foremost, you need to take into account the type of wood you are working with. Different types of wood have different characteristics and require specific varnish formulations for optimal results. Additionally, consider the desired finish of your floors. Some varnishes offer a glossy finish, while others provide a more matte appearance. Lastly, think about the level of foot traffic your floors will endure. If you expect high levels of activity, opt for a varnish that offers superior durability and resistance to scratches and scuff marks.

Tips for Varnish Application
Applying varnish requires careful and precise techniques to achieve a flawless finish. Here are some tips to ensure a successful varnish application:
Prepare the surface: Before starting the varnishing process, make sure the floor is clean, dry, and free of any dust or debris. Use a vacuum or a broom to remove any loose particles that may interfere with the varnish application.
Choose the right tools: Select high-quality brushes or rollers that are specifically designed for varnish application. These tools help to evenly distribute the varnish and minimise streaks or brush marks.
Apply multiple coats: To achieve a durable and long-lasting finish, it is recommended to apply multiple thin coats of varnish, allowing each layer to dry completely before applying the next. This technique ensures proper coverage and enhances the overall protection of your floors.
Follow the manufacturer's instructions: Different varnish products may have specific application guidelines provided by the manufacturer. Read and follow these instructions carefully to achieve the best results.
By following these tips, you can ensure a smooth and professional-looking varnish application that enhances the durability and beauty of your floors.
Varnish Type
Polyurethane Varnish, All wood types, Glossy, satin, matte
Water-based Varnish, All wood types, Satin, matte
Oil-based Varnish, Hardwood floors, Glossy, satin
Floor Sanding Techniques for Different Wood Types
Different wood types require specific sanding techniques to achieve the best results. Understanding and applying the right sanding techniques for different wood types ensures optimal results without damaging the wood.
Handling Delicate Parquet Wooden Floors
Delicate parquet wooden floors require extra care, as they can be easily damaged. To preserve the intricate patterns, it is important to use light pressure and delicate sanding tools when sanding parquet floors. Avoid excessive sanding, as it can compromise the integrity of the wood.
Sanding Techniques for Hardwood and Softwood Floors
Hardwood and softwood floors have their own sanding requirements based on their hardness and durability. When sanding hardwood floors, it is important to use the appropriate grit sandpaper to remove imperfections and achieve a smooth finish. Softwood floors, on the other hand, require a gentler touch to avoid excessive removal of the surface layer.
In summary, by applying the right sanding techniques for different wood types, you can achieve the best results while preserving the integrity and beauty of the wood.

Understanding the Floor Sanding Process
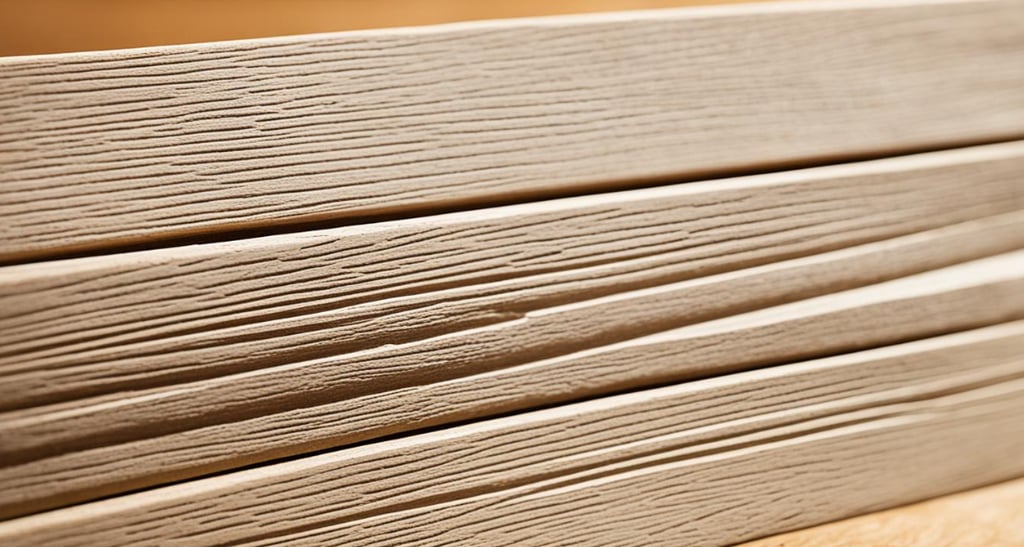
When it comes to achieving professional results, understanding the floor sanding process is key. This process involves several crucial steps that contribute to a smooth and durable finish for your wooden floors. By following these steps, you can ensure a successful floor sanding project and avoid common mistakes that may damage the wood.
Steps for Sanding Wooden Floors
1. Surface Preparation: Begin by preparing the floor surface. Clear the room of furniture and other items, and thoroughly clean the floor to remove any dirt, dust, or debris. Repair any damaged areas or loose floorboards before proceeding.
2. Sanding with Different Grits: After surface preparation, start sanding the floor using a floor sander. Begin with a coarse grit sandpaper, such as 24 to 40, to remove the old finish and any deep scratches. Gradually progress to finer grits, such as 100 to 120, for a smoother finish. Repeat the sanding process with each grit, making sure to go over the entire floor surface evenly.
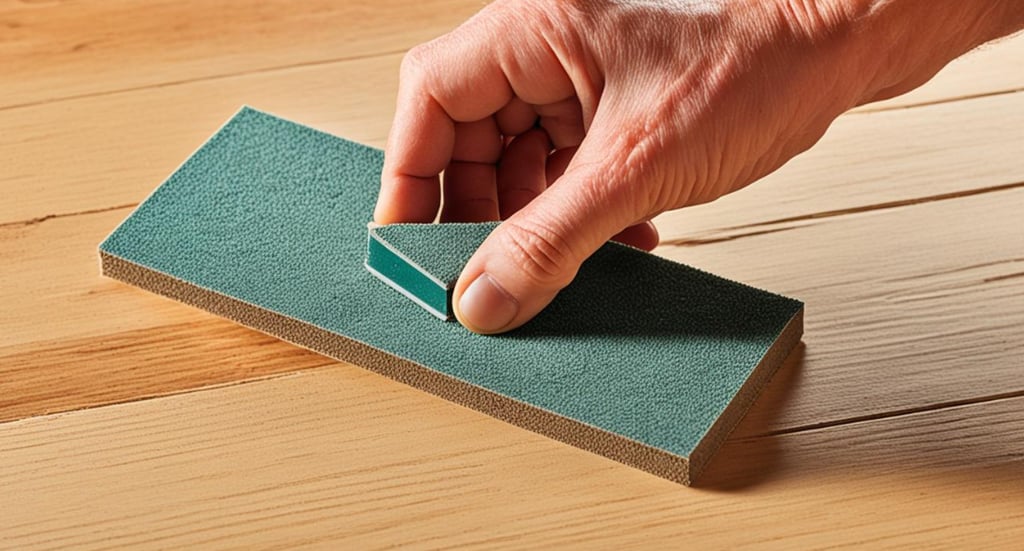
3. Edge Sanding: Use an edge sander or a sanding block to sand the edges and corners of the floor that the floor sander couldn't reach. This step ensures that the entire floor surface is uniformly sanded.
4. Final Sanding: For the final sanding, use a fine grit sandpaper to achieve a smooth and polished finish. Pay close attention to any remaining imperfections, ensuring that the floor surface is even and free of scratches or marks.
5. Surface Cleaning: After sanding, thoroughly clean the floor to remove any dust or debris. Use a vacuum cleaner or a soft-bristle broom, followed by a damp mop, to ensure a clean and dust-free surface.
6. Protective Coating: The final step involves applying a protective coating, such as varnish or sealant, to the sanded floor. This coating not only enhances the appearance of the wood but also provides durability and protection against general wear and tear.
Common Mistakes to Avoid in Floor Sanding
1. Using the Wrong Grit: Using the wrong grit sandpaper can result in uneven sanding, damage to the wood, or an unsatisfactory finish. Always follow the recommended grit sequence and choose the appropriate grit for each stage of sanding.
2. Excessive Sanding: Over-sanding can weaken the wood and remove too much material, causing irreparable damage. It's important to sand the floor evenly and stop once the desired smoothness is achieved.
3. Skipping Grits: Skipping grits in the sanding process can lead to visible scratches or imperfections on the floor surface. Make sure to progress gradually from coarse to fine grits for optimal results.
4. Poor Dust Control: Failing to control dust during the sanding process can result in a messy and unsafe working environment. Use a dust collection system or a vacuum with a dust attachment to minimise dust and protect your health.
5. Inadequate Surface Preparation: Neglecting proper surface preparation, such as cleaning and repairing the floor, can affect the overall quality and longevity of the sanded surface. Take the time to prepare the floor adequately before sanding.

Maintaining Your Sanded Floors
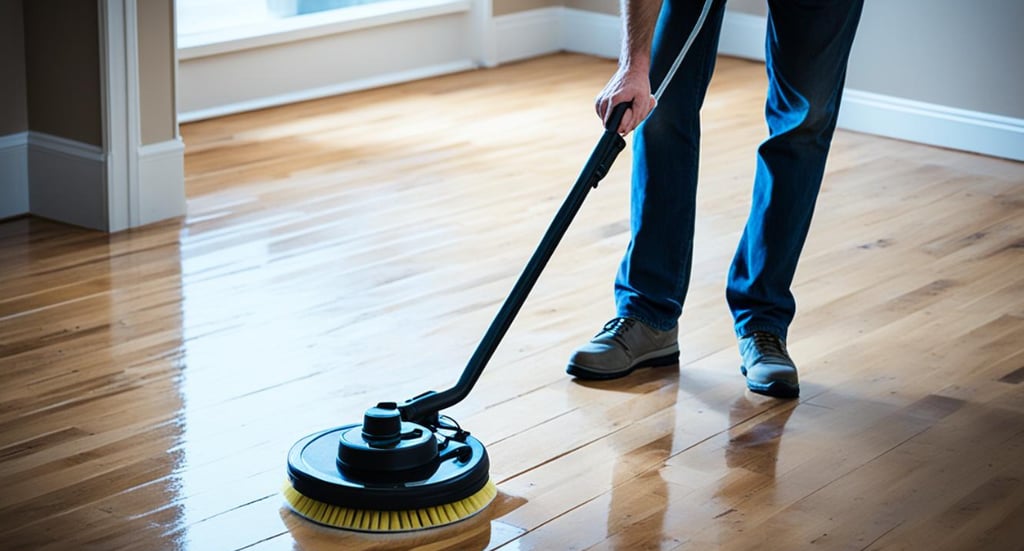
After sanding your floors, it's important to implement a maintenance routine to keep them in optimal condition. Regular maintenance includes sweeping or vacuuming to remove dirt and debris, using protective pads on furniture legs, and avoiding excessive moisture or spills. Additionally, periodically polishing the floors with a wood floor polish helps maintain their shine and enhance durability. By properly maintaining your sanded floors, you can prolong their lifespan and preserve their beauty.

Health and Safety Tips During Floor Restoration
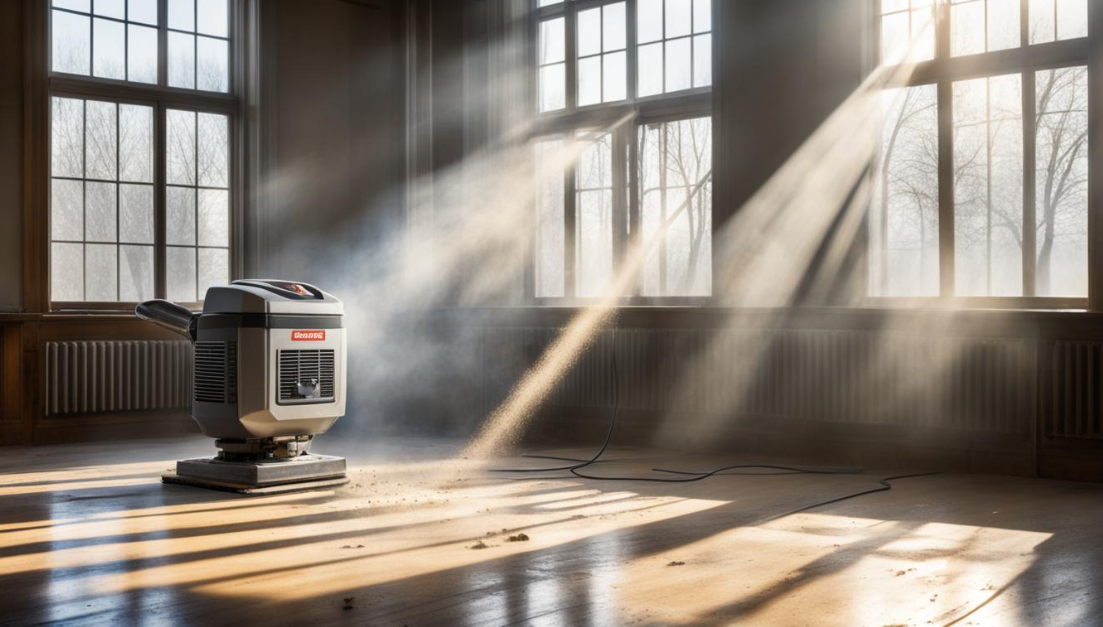
During the process of floor restoration, particularly sanding, a significant amount of dust can be generated, which poses health risks. It is crucial to prioritise health and safety by implementing appropriate precautions to minimise exposure to harmful particles and create a safer working environment.
Here are some health and safety tips to consider during floor restoration:
Wear Protective Gear: It is essential to wear appropriate protective gear, such as dust masks and safety glasses, to prevent inhalation of sanding dust and protect the eyes from potential debris.
Use Dust Extraction Systems: Utilise dust extraction systems or vacuums equipped with dust-collecting attachments to minimise airborne dust particles. This helps maintain a clean and healthy environment.
Ensure Proper Ventilation: Adequate ventilation is crucial during floor restoration. Open windows or use fans to improve air circulation and reduce the concentration of dust in the working area.

Conclusion
Expert Floor Sanding Services for Beautiful Wooden Floors
In conclusion, floor sanding techniques play a vital role in restoring and maintaining the beauty of wooden floors. Whether you choose to embark on a DIY approach or seek professional assistance, understanding the proper sanding techniques, equipment, and maintenance practices is key to achieving optimal results. By following the step-by-step guidelines outlined in this guide and implementing proper care and maintenance, you can enjoy stunning, durable wooden floors for many years to come.
For those looking for expert floor sanding services and advice, we recommend consulting professional wooden floor experts. These professionals have the experience, expertise, and tools necessary to handle even the most challenging floor sanding projects. They can offer valuable insights and deliver exceptional results that will transform your wooden floors into a thing of beauty.
Remember, don't underestimate the importance of floor sanding. By investing time and effort into this essential process, you can revitalise your wooden floors, protect your flooring investment, and create a welcoming and elegant space that you can be proud of. Whether you choose to take on the task yourself or seek professional assistance, beautiful wooden floors are within your reach.
FAQ
What are some floor sanding techniques?
Some floor sanding techniques include sanding in the direction of the wood grain, using different grits of sandpaper, and adopting proper sanding processes for different wood types.
Why is sanding wood floors important?
Sanding wood floors is important because it helps to renew and enhance the beauty of the wood, remove imperfections, and prepare the surface for finishing or staining.
What equipment do I need for floor sanding?
Essential floor sanding equipment includes a floor sander (such as a drum sander, orbital sander, or belt sander), sandpaper, a dust collection system, and safety gear such as dust masks and safety glasses.
How do I select the right sandpaper grit?
The right sandpaper grit depends on the condition of your floors. Coarser grits (24 to 40) are used to remove old finishes and heavy scratches, while finer grits (100 to 120) are used for the final sanding to achieve a smooth finish.
Should I hire professionals or do DIY floor sanding?
The choice between hiring professionals or doing DIY floor sanding depends on factors such as your skill level, budget, and the desired result. Professionals offer expertise and specialised equipment, while DIY can be cost-effective and allow you to have more control over the process.
How can sanding and varnishing floors enhance durability?
Sanding and varnishing floors can enhance durability by protecting the wood from wear and tear, creating a protective barrier against scratches and stains, and extending the lifespan of the wood.
What are the proper sanding techniques for different wood types?
Delicate parquet wooden floors require light pressure and careful sanding techniques to preserve intricate patterns. Hardwood and softwood floors have different sanding requirements based on their hardness and durability.
What is the floor sanding process?
The floor sanding process typically involves surface preparation, sanding with different grits, and applying a protective coating. It's important to follow the proper steps and avoid common mistakes to achieve a smooth, even surface.
How do I maintain sanded floors?
To maintain sanded floors, regularly sweep or vacuum to remove dirt and debris, use protective pads on furniture legs to prevent scratches, avoid excessive moisture or spills, and periodically polish the floors to maintain their shine and durability.
Are there any health and safety tips during floor restoration?
Yes, it's important to wear protective gear such as dust masks and safety glasses, use dust extraction systems to minimise exposure to sanding dust, and ensure proper ventilation in the work area to create a safer environment during floor restoration.
Do I need to hire professional floor sanding services?
Hiring professional floor sanding services can ensure high-quality results and save you time and effort. Experts have the experience, expertise, and specialised equipment needed to handle even the most challenging floor sanding projects.


